How to Set Up a Workflow Automation VPS: Step-by-Step Guide
Automation has become an essential part of modern digital businesses. From handling repetitive tasks to running scheduled scripts and integrations, automation saves time and improves productivity. A Workflow Automation Vps allows you to run automated processes continuously without relying on your personal computer. Businesses, developers, and marketers use these servers to manage tasks like data syncing, app integrations, trading bots, and scheduled workflows.
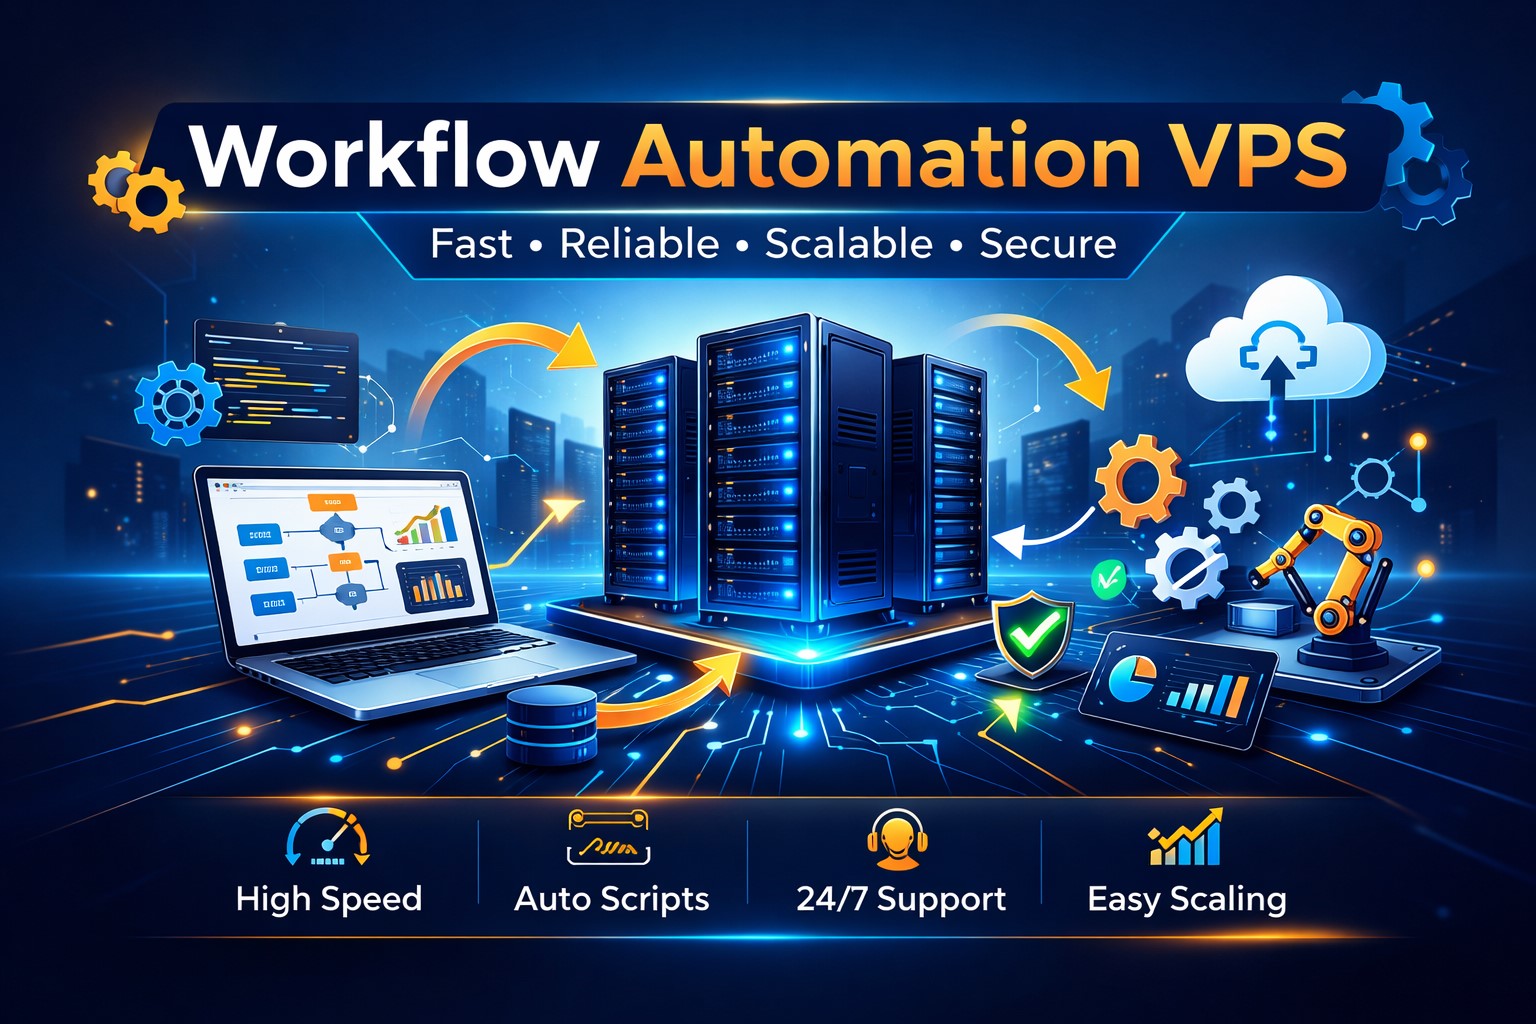
In this step-by-step guide, you will learn how to set up a Workflow Automation Vps, configure it properly, and start running automated workflows smoothly.
1. Choose the Right VPS for Automation
The first step is selecting a reliable VPS provider. Since automation workflows often run 24/7, the server must offer stable performance and good uptime.
When choosing a Workflow Automation Vps, consider these factors:
-
CPU Power: Automation tools and scripts require processing power.
-
RAM: At least 4 GB RAM is recommended for automation platforms.
-
SSD Storage: Faster storage improves script execution speed.
-
Network Stability: Essential for cloud integrations and APIs.
Many businesses prefer an Automation Server Vps because it allows them to run multiple automation tools simultaneously without interruptions.
2. Select an Operating System
Once you purchase the VPS, choose an operating system. Most automation platforms support Linux because it is lightweight and efficient.
Common choices include:
-
Ubuntu
-
Debian
-
CentOS
Ubuntu is widely recommended for a Business Automation Vps because it offers strong community support and compatibility with many automation tools.
3. Access Your VPS Server
After the VPS setup is complete, you will receive login credentials including:
-
IP Address
-
Username
-
Password
To connect to your Workflow Automation Vps, use an SSH client such as:
-
PuTTY (Windows)
-
Terminal (Mac/Linux)
Example command:
After entering the password, you will have full control of the server environment.
4. Update and Secure the Server
Before installing any automation tools, it is important to update your server.
Run these commands:
sudo apt upgrade
Security is essential for any Automation Server Vps. Consider these best practices:
-
Change the default password
-
Enable a firewall
-
Disable unnecessary ports
-
Install security updates regularly
These steps protect your automation workflows from potential threats.
5. Install Required Software
Automation platforms require specific dependencies to run properly.
Common tools to install include:
-
Node.js
-
Docker
-
Python
-
Git
Example installation for Node.js:
sudo apt install npm
Installing these packages prepares your Business Automation Vps to run modern workflow automation tools.
6. Install an Automation Platform
Now install your preferred automation software. Some commonly used workflow automation tools include:
-
n8n
-
Node-RED
-
Zapier self-hosted alternatives
-
Custom automation scripts
For example, installing n8n with Docker:
docker run -it –rm \
-p 5678:5678 \
n8nio/n8n
http://your-server-ip:5678
7. Create Your First Automation Workflow
Once the platform is installed, you can start building workflows.
Examples of automation workflows include:
-
Sending automatic email notifications
-
Syncing data between apps
-
Posting content to social media
-
Running scheduled scripts
-
Monitoring system alerts
Businesses often rely on a Business Automation Vps to connect CRM tools, payment systems, and marketing platforms.
A simple workflow may look like:
-
Trigger (schedule or webhook)
-
Data processing step
-
API integration
-
Notification or output action
This structure allows the Automation Server Vps to execute tasks automatically without manual input.
8. Set Up Scheduling and Monitoring
Automation tasks usually run at scheduled times. Most platforms allow you to configure triggers such as:
-
Every hour
-
Daily
-
Weekly
-
Event-based triggers
Monitoring is also important. Enable logging and alerts so you know if a workflow fails.
For a Workflow Automation Vps, regular monitoring helps maintain smooth performance and prevents workflow interruptions.
9. Optimize Server Performance
As your automation tasks grow, you may need to optimize server performance.
Useful tips include:
-
Use Docker containers for automation tools
-
Allocate enough RAM and CPU resources
-
Clean unused files and logs
-
Restart services when necessary
Scaling your Automation Server Vps ensures it can handle multiple workflows and integrations efficiently.
10. Backup Your Automation Workflows
Automation workflows often contain important business logic and API configurations. Always create backups to prevent data loss.
Backup methods include:
-
Cloud storage backups
-
Server snapshots
-
Exporting workflow files
A well-managed Business Automation Vps always includes a reliable backup strategy.
Conclusion
Setting up a Workflow Automation Vps is a powerful way to streamline repetitive tasks and improve business efficiency. By choosing the right server, installing automation tools, and configuring workflows properly, you can create a reliable automation environment that runs 24/7.
A well-configured Automation Server Vps allows businesses to automate processes such as data management, marketing workflows, integrations, and scheduled operations. With proper optimization and security, a Business Automation Vps becomes an essential tool for scaling digital operations and increasing productivity.